Table of Contents
Introduction
I recently registered for Cursor’s student discount. When I researched installation methods, most articles were for Mac, so I’ve compiled the Windows version steps here.
If you want to know how to register for the student discount, please refer to the following page:
How to Apply for Cursor Student Plan
Installation Steps
Here’s how to install Cursor for Windows.
1. Get the Installer
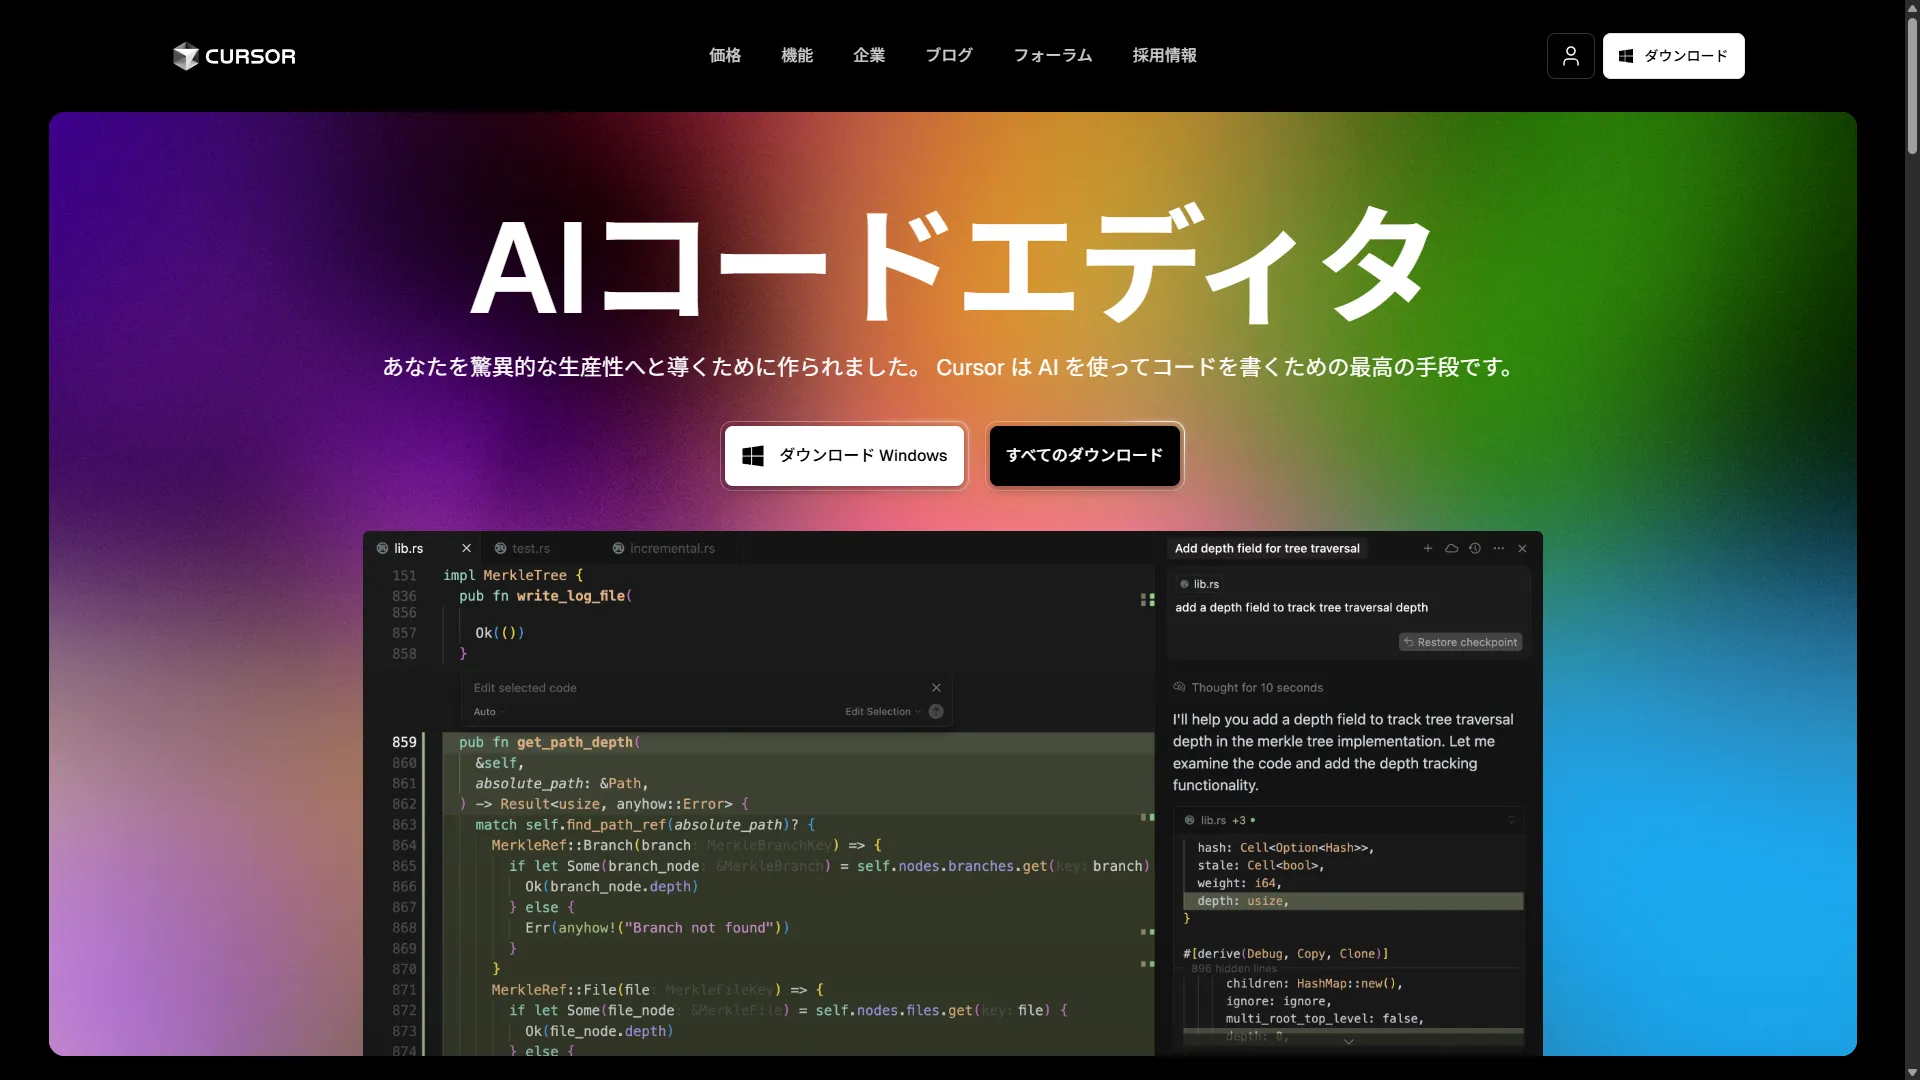
Download the installer from the “Download for Windows” button on the official website.
Cursor Official Website
Note
If you see downloads for other platforms (like Mac), click “All Downloads” and select Windows (Arm or x64).
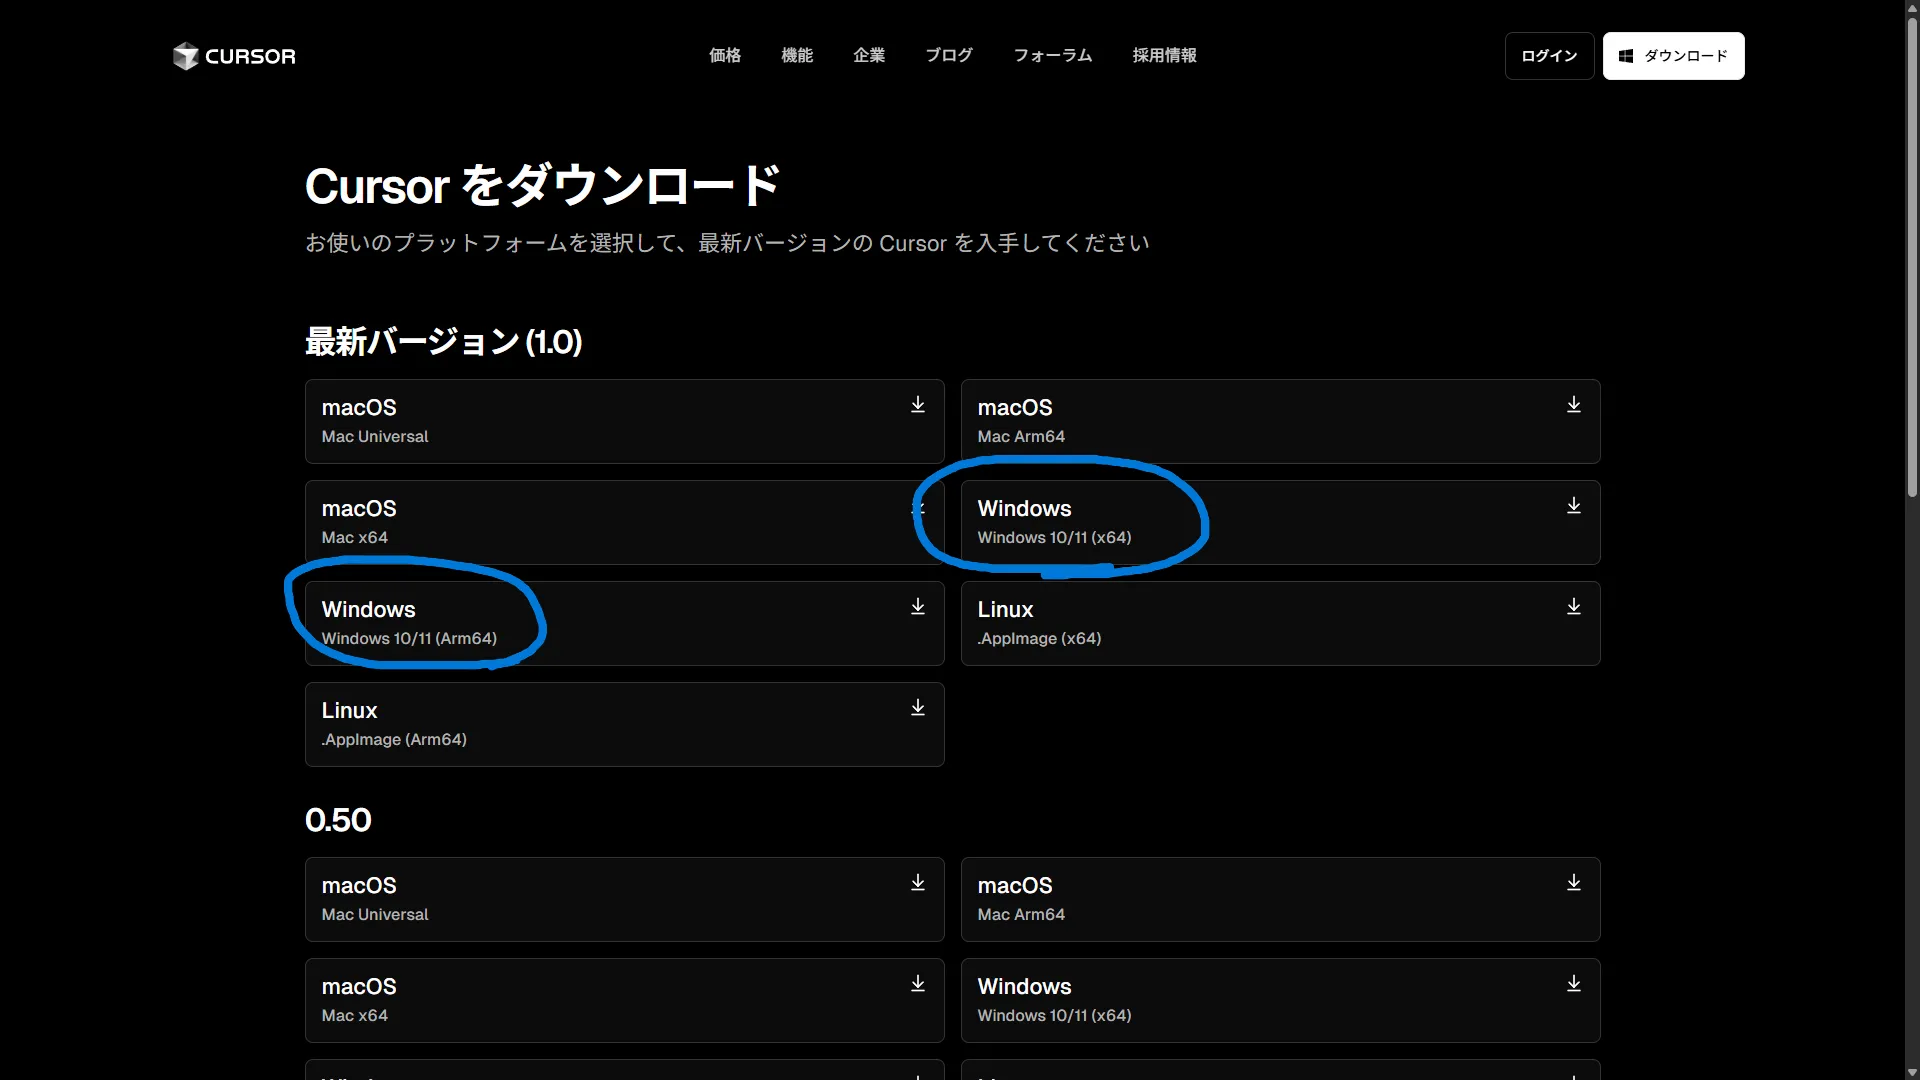
How to Check if Your CPU is x64 or Arm
Most Windows PCs are x64, but if you’re unsure, you can check using the method in this article:
How to Check CPU Architecture on Windows
2. Run the Installer
You cannot proceed without agreeing to the terms of use. Even though I know it’s necessary, I always think it’s unnecessary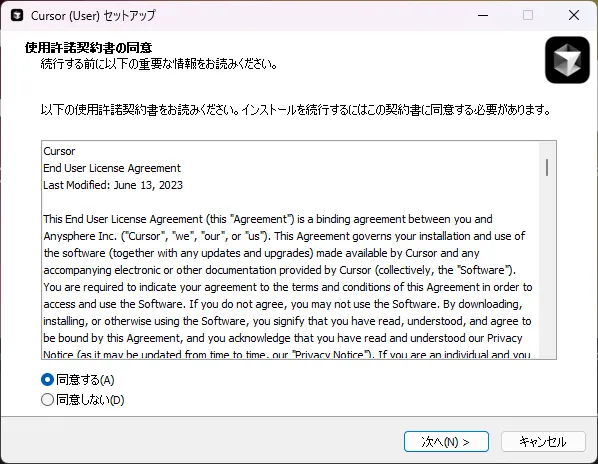
Specify the installation destination for the editor. If you have no particular preference, default is recommended.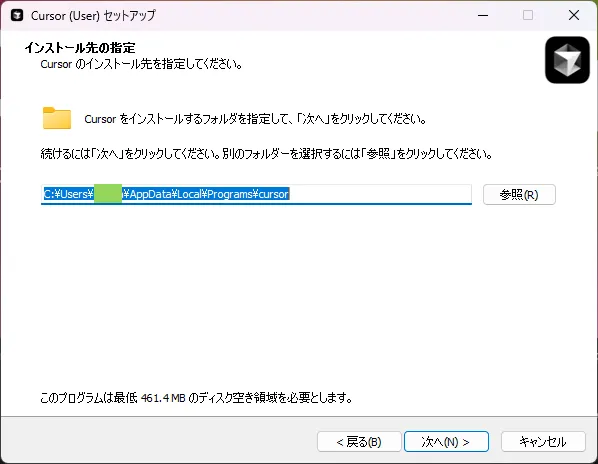
Next, perform Start Menu registration. The default is fine here too.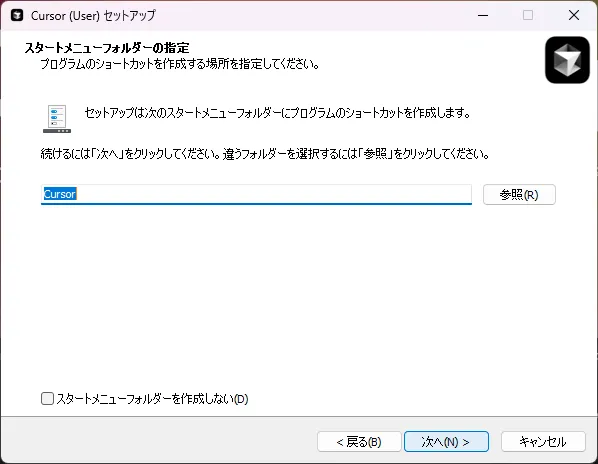
Options are displayed, but only adding to PATH is necessary (extremist view)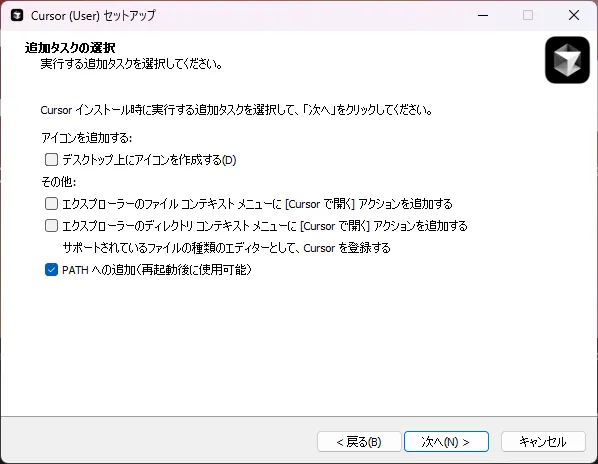
Just follow the wizard by clicking through. When the following screen appears, you’re done.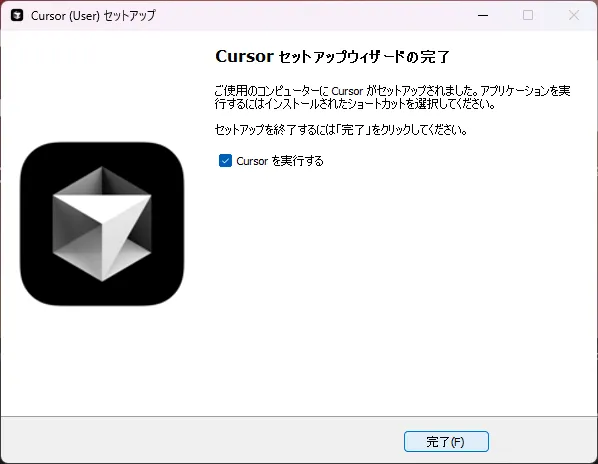
3. Initial Setup
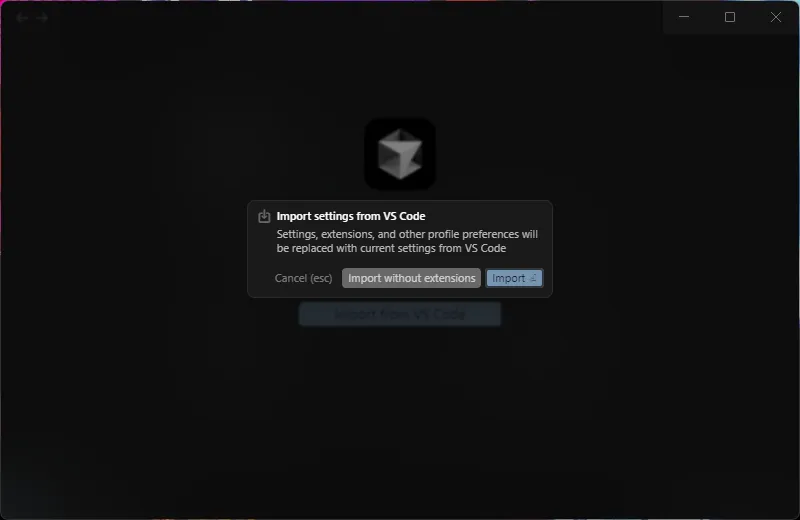
Various settings run on first startup. In this example, the extension installation screen is displayed.
NOTEIf you have the Copilot extension in VS Code, it will automatically be added to Cursor as well. Disable it if you don’t need it.
You can choose themes and key bindings according to your preference. If you’re unsure, the default is OK.
At the end of the settings screen, options regarding data sharing are displayed. By default, sharing is enabled and you can’t turn it off here, which is troublesome. If you want to disable it, refer to the next section.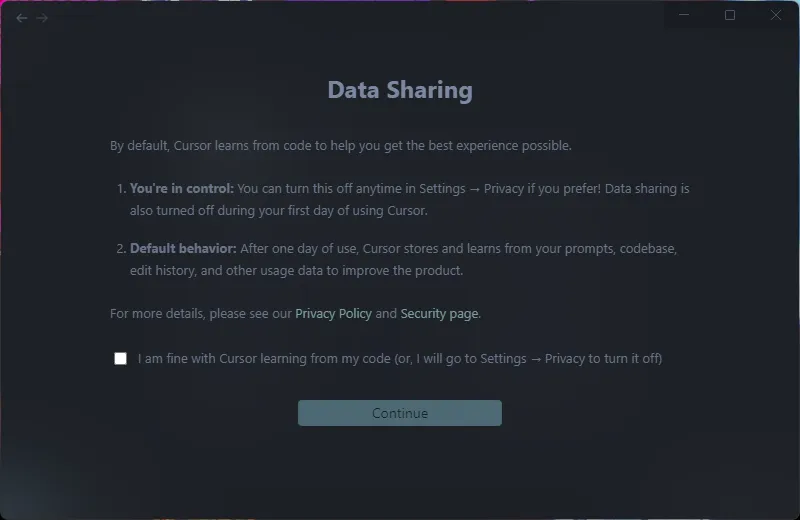
Turning Off Data Sharing
WARNINGSince data sharing is enabled by default, be sure to change the settings if you value privacy.
The fact that data sharing is enabled by default is concerning. Click the ⚙️ (settings icon) in the top right → set Privacy Mode to Enable to turn it off.
TIPWhen Privacy Mode is enabled, automatic code transmission is disabled. You can use AI functions manually as needed.
Hello World with Cursor
NOTEWhen using Cursor for the first time, you may need to set up your Python environment.
It’s standard to end articles like this with Hello World, so here I’ll try it with Python.
- Enter the following prompt in the chat field at the bottom right
Make Hello World with python - After script generation, a confirmation dialog appears each time, so switching to auto-execution is convenient.
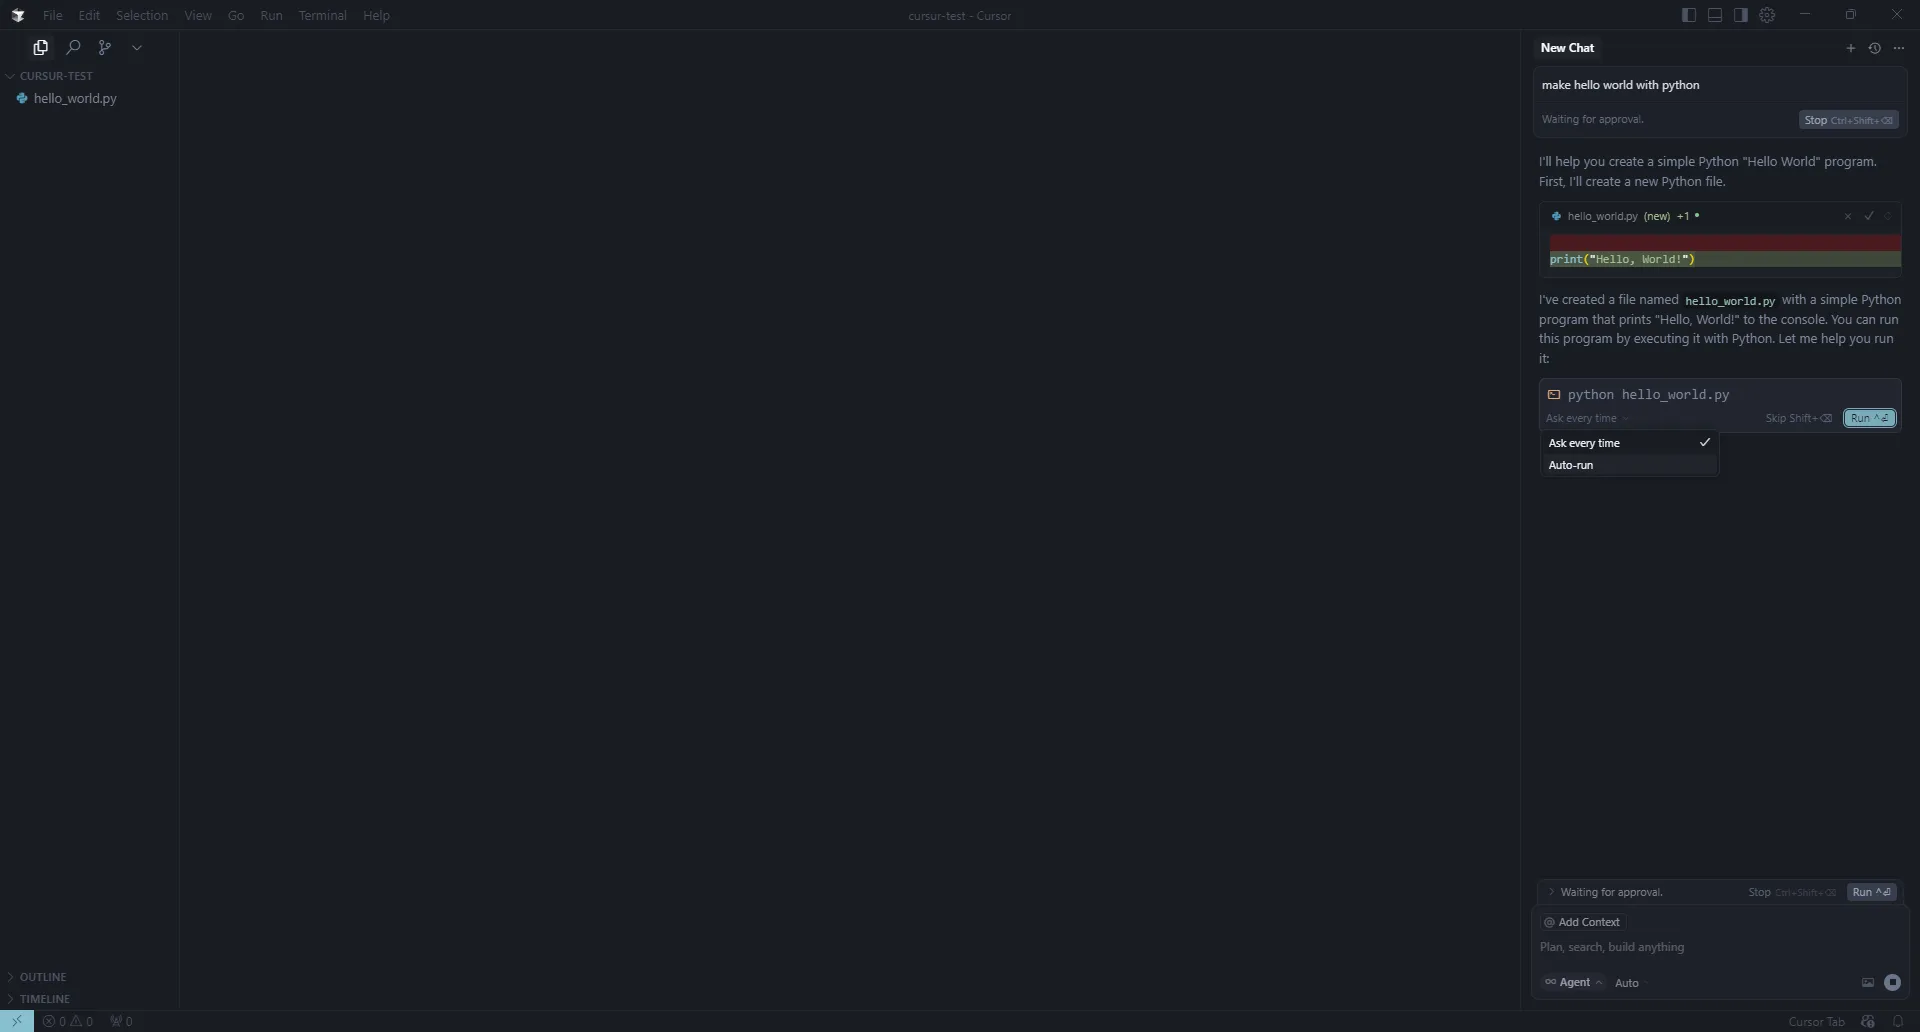
CAUTIONWhen auto-execution is enabled, AI-generated code runs without confirmation. Use carefully on important projects.
Warnings are also displayed carefully. Since major changes may be made, I recommend taking measures such as creating a branch.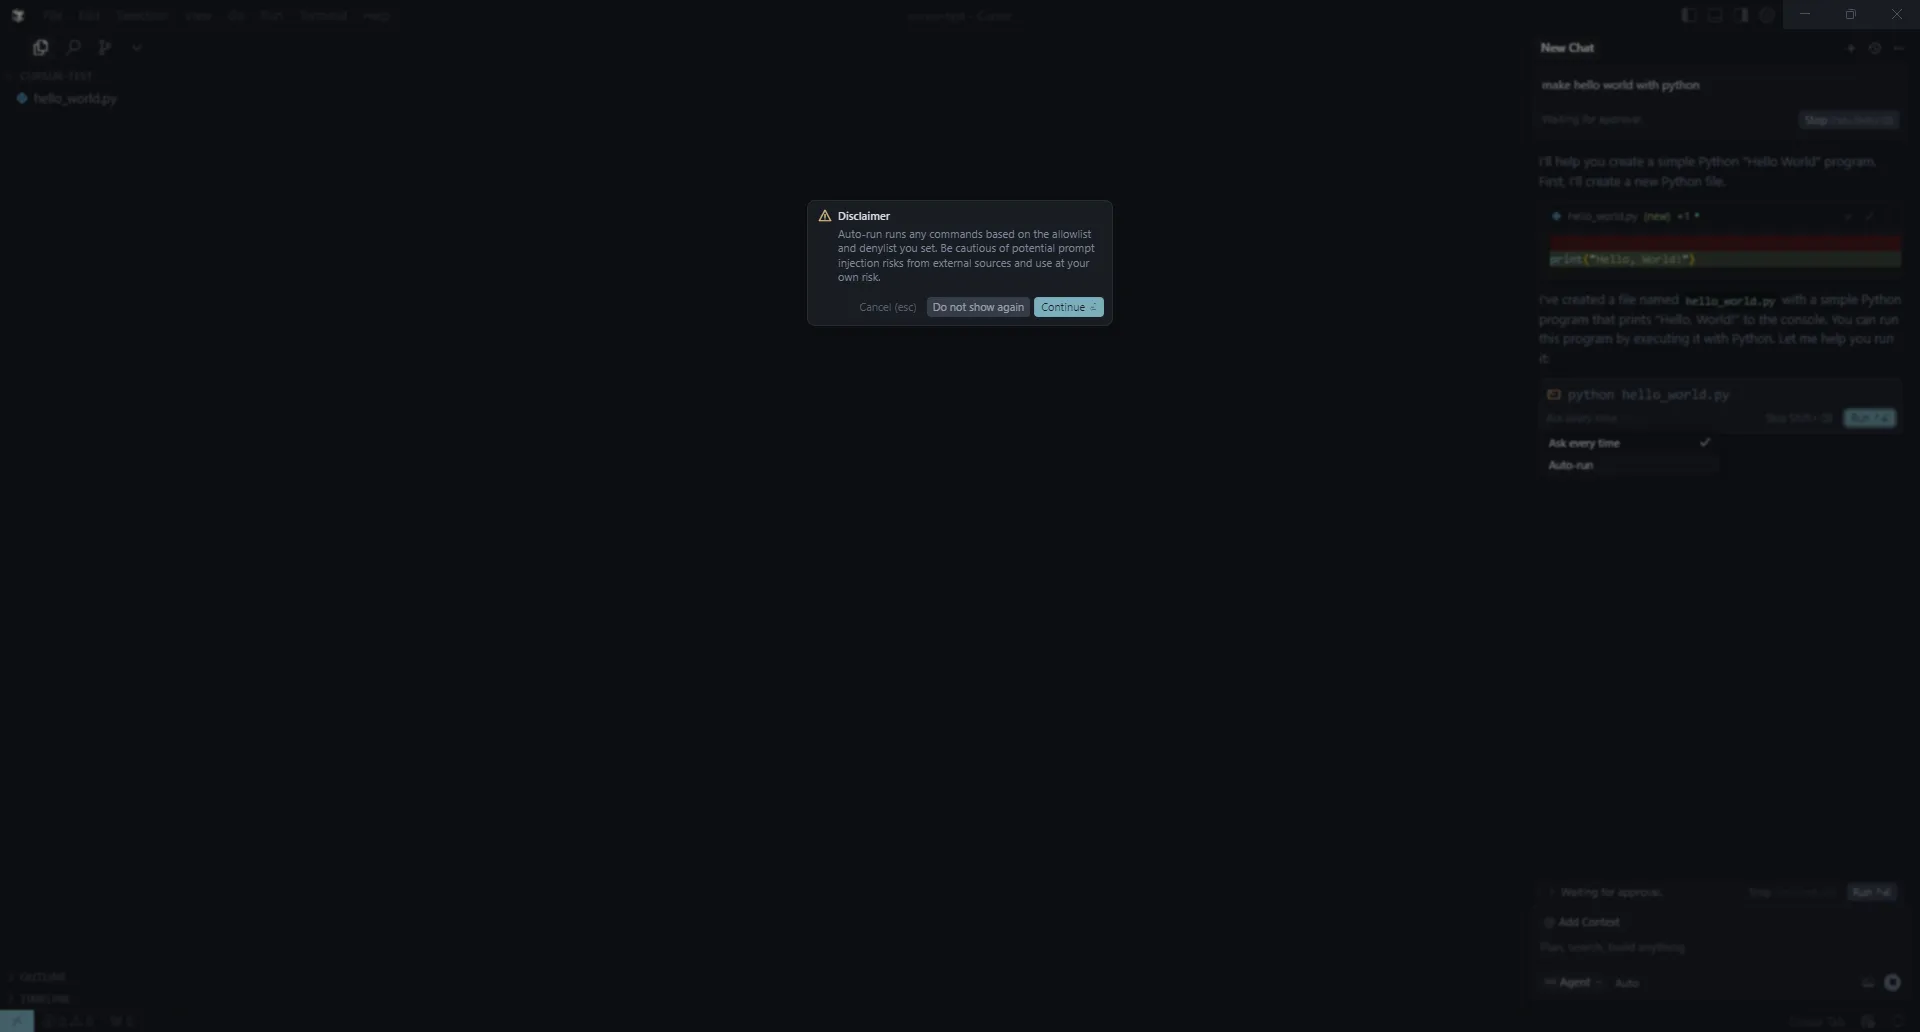
IMPORTANTIf you’re using a version control system (Git), be sure to create a working branch before testing AI-generated code.
Finally, if Hello World is output to the terminal, you’ve succeeded.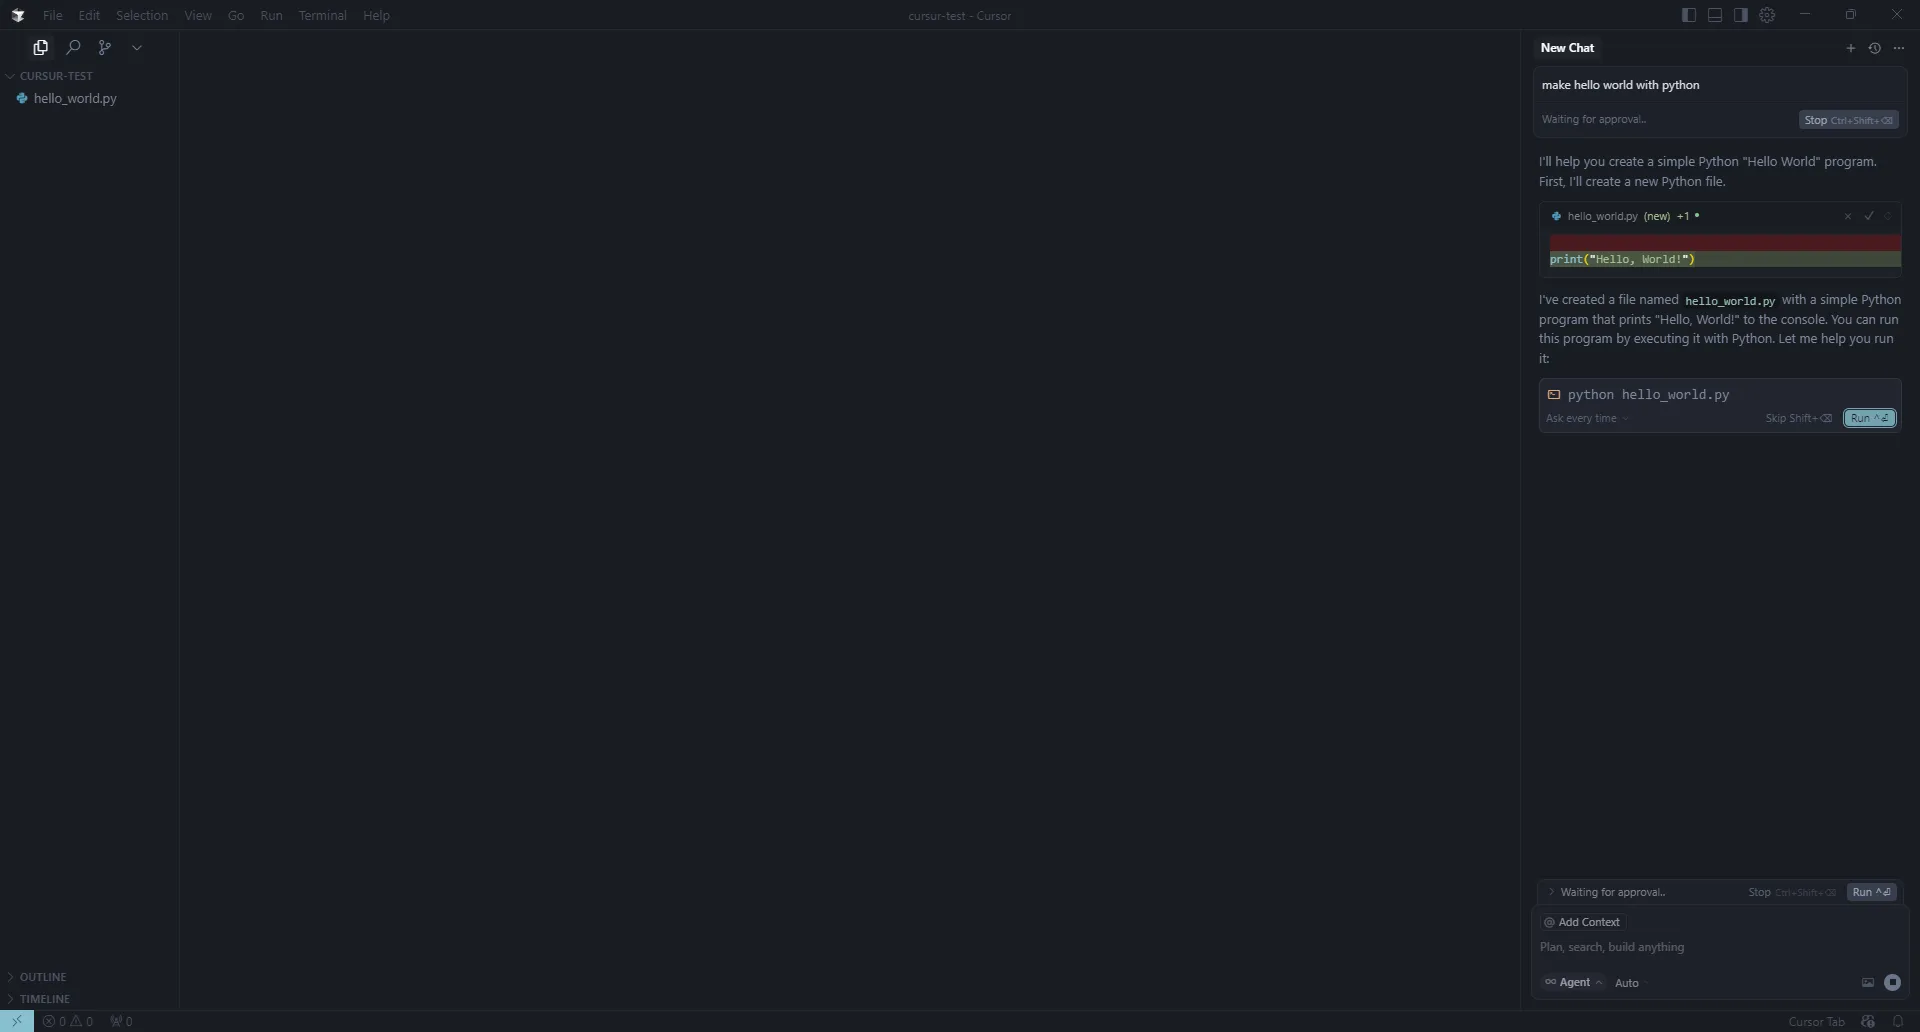
It worked more smoothly than VS Code’s Copilot, which was a bit moving.
Summary
What an easy era it is when LLMs write code for us (by a young person).
Let’s use what we can use and polish what LLMs can’t do.


![Cover image for I Tried Using Cursor's Student Discount [Registration Guide]](/_astro/1.DdoLuYwP_1nkplb.webp)